
TeamViewer
TeamViewer is a program that you can download to your own computer. It allows our employees to remote in to your personal computer temporarily, so that we can share screens and help you with your hosting issues, and it's the #1 favorite software of support technicians all over the world. It's 100% free, secure, and incredibly helpful.
Please follow the steps below to install TeamViewer on your computer and connect to our techs for help:
How to Download TeamViewer
Step 1: |
|
Windows Users CLICK HERE to download TeamViewer. Mac Users CLICK HERE to download TeamViewer. |
Step 2: |
|
Find the .exe or .dmg TeamViewer_Setup file in your Downloads folder or wherever you put it, and double click to begin the installation process. Click "Run" or "Install". |
Step 3: |
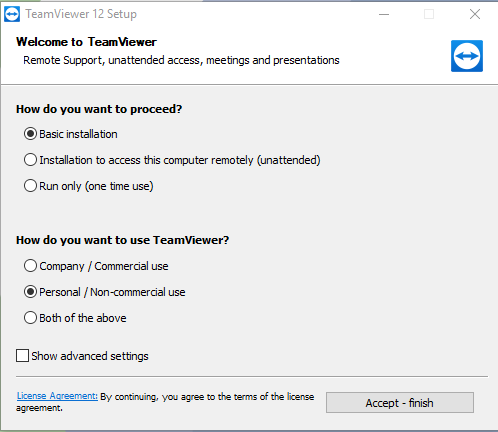 | |
| In the window that pops up, select your settings (we recommend "Basic installation" and "Personal / Non-commercial use") and click "Accept - finish" | ||
Step 4: |
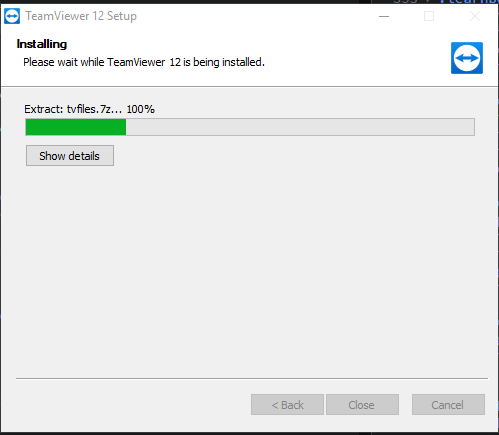 | |
| If a popup window asks if you would like to allow this program to make changes to your computer, click "Yes" or "Allow" and then wait for the program to install. | ||
Step 5: |
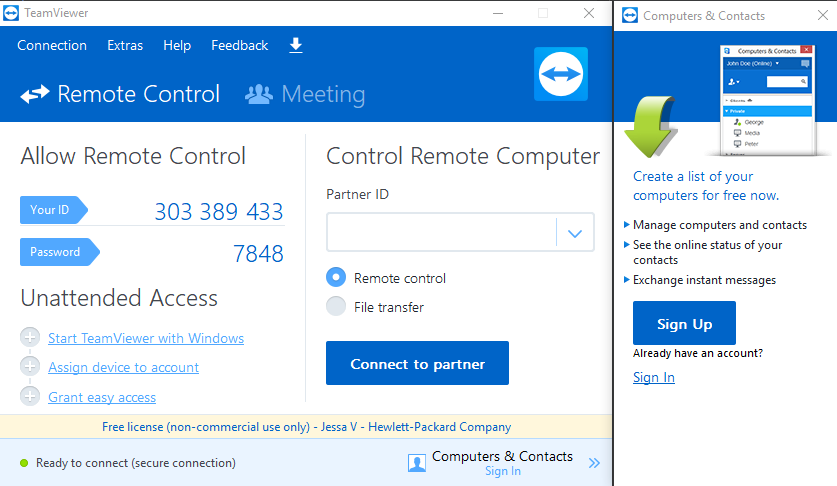 | |
| TeamViewer is now installed. Your WebHostingPad support technician will likely ask you for a few numbers. | ||
Step 6: |
 | |
| This is your TeamViewer User ID. Your support technician will need this number to connect with you through TeamViewer. | ||
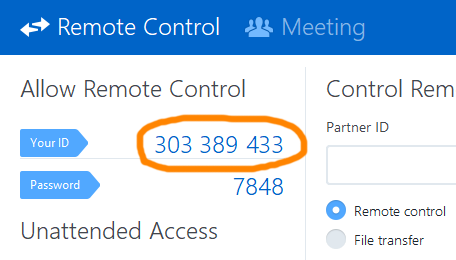
Step 7: |
 | |
| This is your TeamViewer password. Your support technician may need this number to help you. | ||
Step 8: |
|
Connect with our support tech and follow along as they help solve your issue. Then you're done. Congratulations, you did it! |
WebHostingPad Awards


Scroll to Top